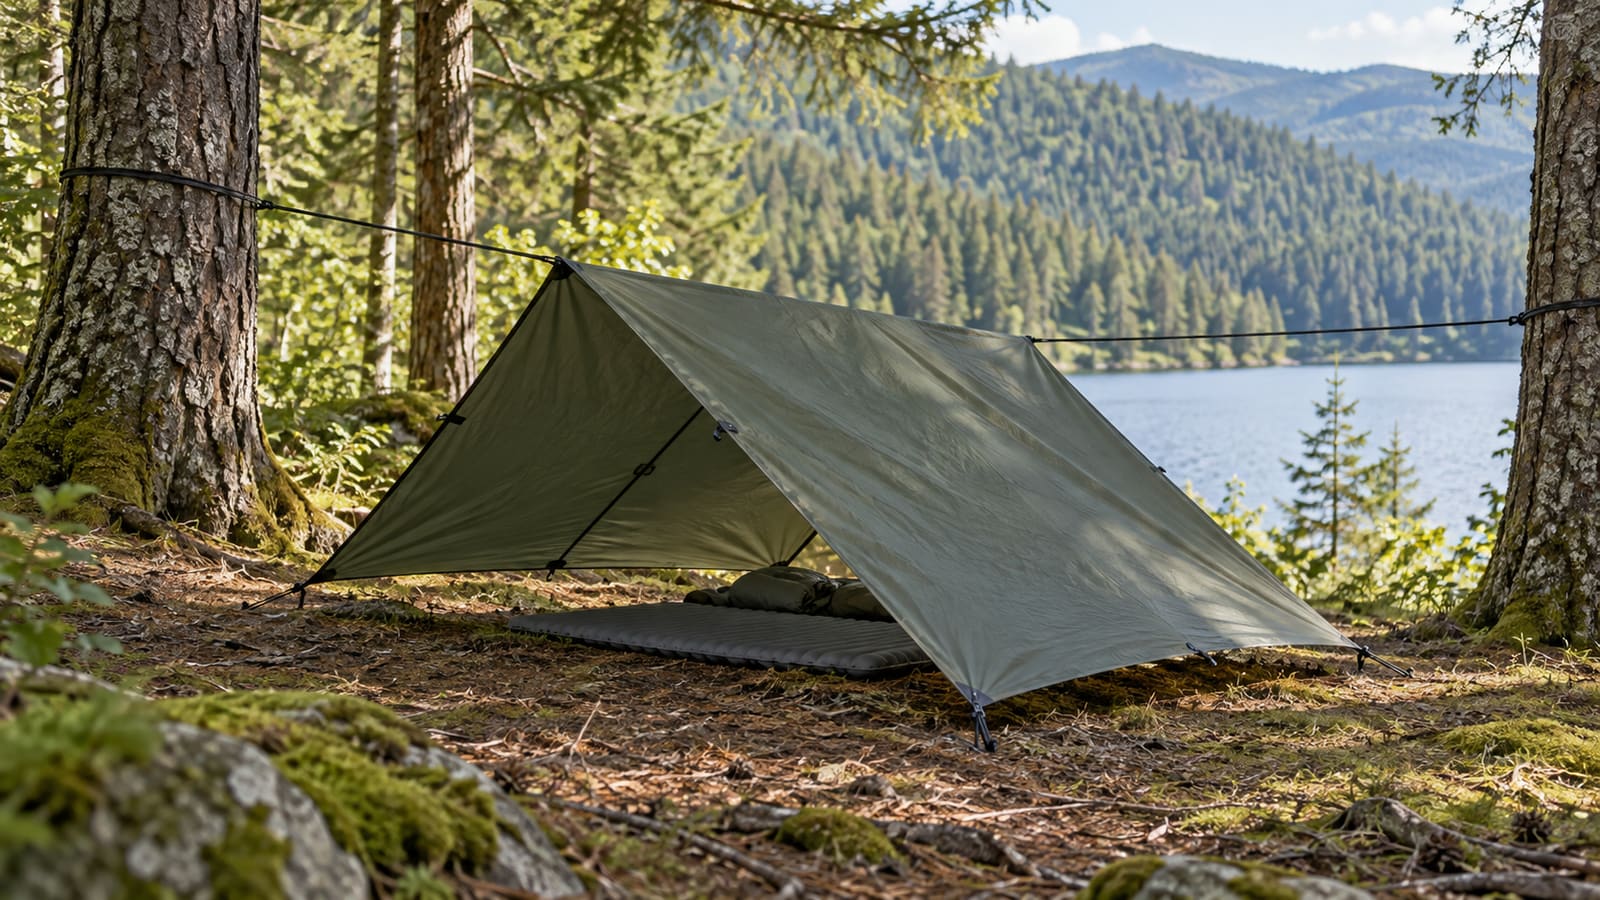
A tarp is one of the simplest pieces of shelter equipment you can carry. But a folded tarp inside a backpack isn't shelter. Knowing how to pitch it is.
For an unexpected night outdoors, sudden rain or other backcountry emergency, two configurations are particularly useful to understand: the A-frame and the diamond. Both can be practiced at home long before you actually need them.
Start With the Site
Before tying anything, look up and around. Avoid obviously unstable trees and branches. Avoid depressions where rainwater may collect. Don't place the shelter directly in a drainage path. Look for reasonably flat ground and natural protection from the prevailing wind where possible. Your tarp cannot compensate for a dangerous site.
What You Need
A practical tarp setup needs the tarp itself, adequate cordage and attachment points. Stakes make setup easier, although rocks and other appropriate anchors may sometimes be used when stakes aren't available. The Appalachian Mountain Club suggests that an 8-by-10-foot tarp can provide coverage for up to two people and recommends adequate lightweight cordage plus optional stakes. The exact size depends on your equipment and needs. Practice with the tarp you actually intend to carry.
The A-Frame
The A-frame is easy to understand because it looks like a simple tent. Choose two suitable anchor points with enough clear ground between them. Run a ridgeline between them at roughly waist height. Keep it taut. Drape the tarp over the ridgeline so roughly equal material falls on both sides. Then secure the four corners outward and down. AMC describes this basic approach as a classic tarp configuration providing consistent headroom and straightforward weather protection.
A-Frame vs. Diamond
A-Frame
- Ridgeline between 2 anchors
- Four corners staked
- Consistent headroom
Diamond
- One corner elevated
- Fast to pitch
- Good when speed matters
Lower Is Better in Bad Weather
A high, airy tarp may be comfortable in calm weather. It also catches more wind and allows more rain underneath. When conditions worsen, lower the profile. Bring the tarp edges closer to the ground. Use a steeper pitch so rain sheds effectively. Position the shelter so the more protected side faces the prevailing weather. The goal is not maximum headroom. It's protection.
The Diamond
The diamond configuration can be extremely fast. One tarp corner is elevated and secured to a suitable tree or anchor point. The opposite corner is pulled away and staked low. The two remaining corners are then pulled outward and secured to create a protected triangular space. AMC describes the diamond as one of the simplest quick emergency tarp configurations. It works especially well when speed matters and you have a suitable anchor.
Keep the Tarp Taut
Loose fabric flaps. Flapping creates noise, stress on attachment points and poor rain management. After the shelter is initially pitched, walk around it. Adjust tension. Check the corners. Look at where rain would run. Make sure water isn't being directed underneath you. Small adjustments make a large difference.
Before You Leave the Site
Protect the Floor
A roof alone doesn't solve the problem of wet or cold ground. Use a sleeping pad or appropriate ground insulation when available. If you use a groundsheet, avoid letting it extend beyond the edges of the tarp where rain can collect on top of it and run underneath you. Keep your sleeping area dry.
Practice Knots Beforehand
You don't need to become a knot expert. You do need a few reliable ways to attach cord and create tension. Choose simple knots appropriate to your equipment and practice them until you can use them without watching a video. The middle of a cold rainstorm is a bad time to begin your first knot lesson.
Be Careful With Fire
Do not put an open flame beneath a tarp unless the shelter and equipment are specifically designed for that use and all safety requirements are understood. Many tarp materials can melt, burn or be damaged by heat and sparks. Combustion also introduces carbon-monoxide concerns in enclosed or poorly ventilated spaces. Separate your shelter strategy from unsafe improvised heating.
Take It Down When You're Finished
Temporary outdoor shelter should remain temporary. Pack out cordage and synthetic materials. Remove stakes. Restore the site as much as possible. Do not leave plastic sheeting, tarp material or cord behind. Preparedness should not create a problem for the next person — or the environment.
Practice Drill
Choose a calm day. Take your tarp into the yard or an appropriate outdoor location. Pitch an A-frame. Time yourself. Take it down. Pitch a diamond. Then repeat in light rain if conditions are safe. You'll learn more in forty minutes than you will from owning the tarp for five years.
The Bottom Line
A tarp gives you options. The skill is knowing how to turn a flat sheet into effective protection. Learn two configurations. Practice site selection. Learn your attachment system. Understand wind and drainage. And use a sleeping system that protects you underneath as well as above.